Search Engine

Currently search engine is powered by Algolia.
Because it depends of the blog content and the content is different per each blog installation, you need to setup it following the next steps.
Creating the blog index
Algolia is a full text search engine. It offers a free plan, so we going to use it for create a intelligent index search of our content.
For do it, first need to create an account.
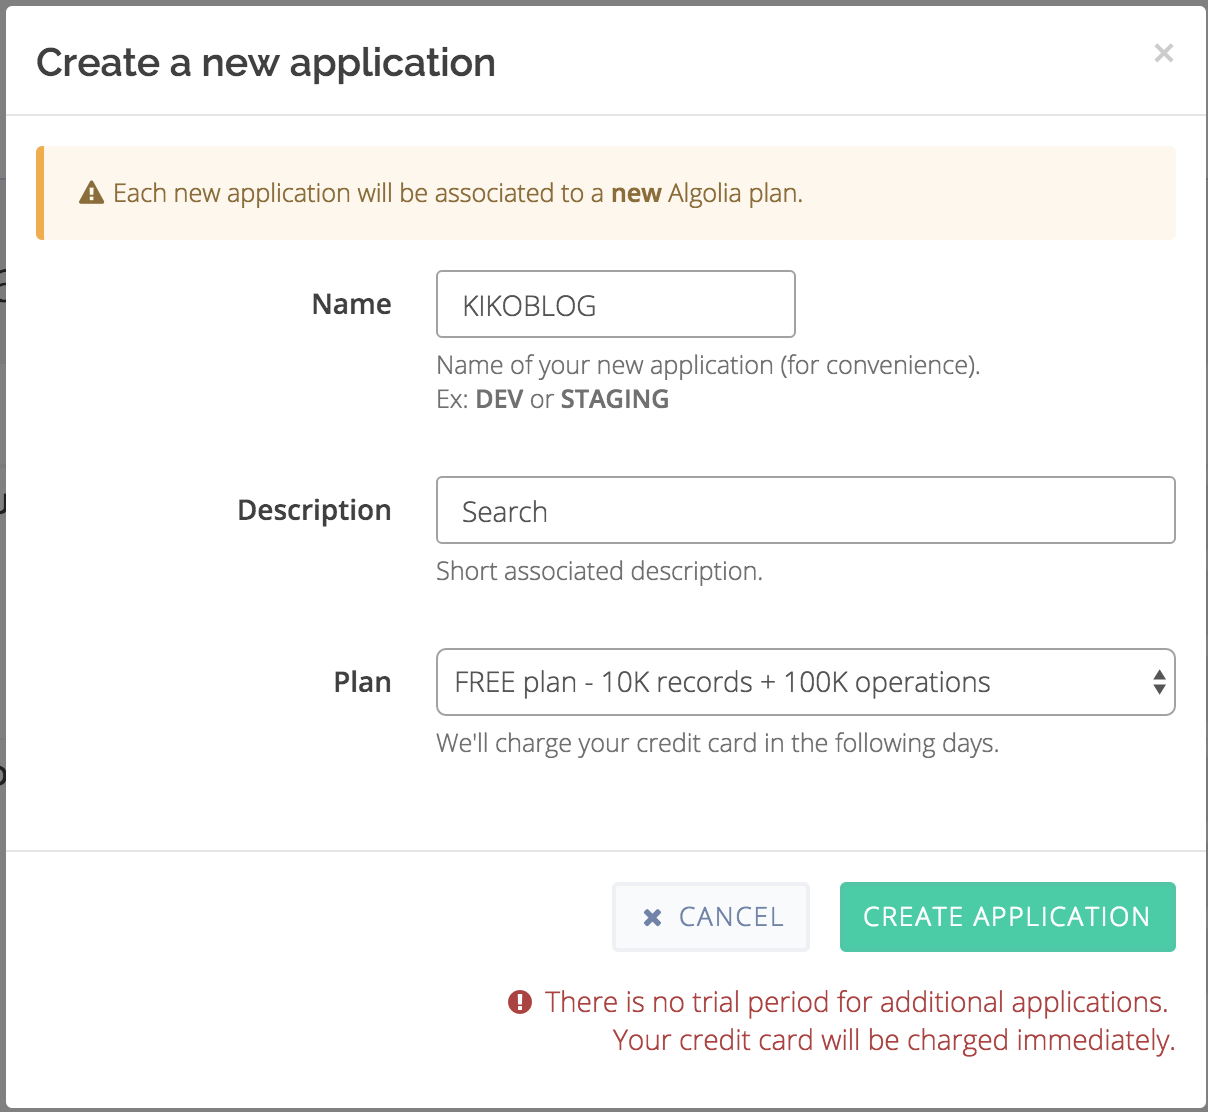
Using the account created, now we have to create an application domain:

Next step is create an index in the application domain.
Click in the lateral menu into Indices and New Index
After that, we need to create a token with enough permissions or use Admin API Key.
Click in the lateral menu into API Keys and New API Key
Now we have all the information to be possible connect with your index. This information are:
- APP_NAME
- APP_ID
- APP_KEY
- INDEX_NAME
We are going to use it for connect with your blog content.
Connecting with your blog content
Backend
We need to connect with algolia service and send our blog data.
First, Rename and edit search.example.json into search.json.
As you can see in this file, you need to setup your algolia connection using the variables reported by Algolia. Also you need to put special attention in two things.
Specifing Sitemaps
It specifies where is the content of your blog.
It's recommended specify the follow URL's:
"sitemaps": [
  {"url": "https://YOUR_DOMAIN/sitemap-posts.xml"},
  {"url": "https://YOUR_DOMAIN/sitemap-pages.xml"}
],
Setup default values
We are going to index a set of attributes per each post.
If not possible to determinate a value for one attribute, we can specify a default values.
It's recommended to setup the follow default values:
"defaults": {
  "image": "https://YOUR_DOMAIN/assets/img/android-chrome-192x192.png",
  "category": "uncategorized"
}
Also be sure to review favicon customization first.
Run the index process
Exec gulp build-search and the task will index your content.
Frontend
The last step that we need to do is connect the frontend client to access to your backend index.
Go to Admin Panel → Code Injection → Blog Header:
var algolia_app_id = 'APP_ID'
var algolia_api_key = 'APP_KEY'
var algolia_index = 'INDEX_NAME'